Happy Thursday!
Today's post, is all about this boho themed Happy Birthday Gift Card Holder. My gift card holder uses the new Sidekick Essentials Collection as well as some of the past Sidekick Collection Dies and dies from Joset Designs. You'll want to grab a cup of your favourite beverage and learn how to recreate my gift card holder at home.
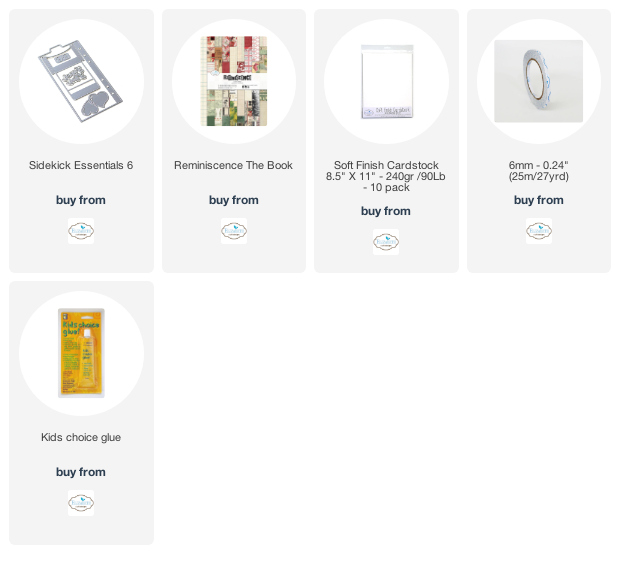
To start, you'll need to choose a piece of patterned paper from the Reminiscence The Book.
The next two steps use the Sidekick Essentials 16 - Seed Packet Set.
Die cut the seed packet out of the patterned paper piece. Ink the edges of the seed packet using Walnut Stain Distress Ink and a blending tool with foam.
Die cut the label from another piece from the Reminiscence the Book.
The next three steps use the Sidekick Essentials 12 - Scallop Insert Die.
Die cut the pot twice out kraft cardstock. Ink the edges of the tops and pots using Walnut Stain Distress Ink and a blending tool with foam.
Choose a couple of green patterned papers out of the Reminiscence the Book. Die cut one of the plants out of one of the green patterned papers. Die cut the another plant out of the second piece of green patterned paper.
Die cut the macrame out of a piece of White Soft Finish Cardstock. Trim the top of the macrame to your desired length.
From the Sidekick Essentials 6 die, die cut the circles out of a piece of kraft cardstock. Ink the edges of the circles using Walnut Stain Distress Ink and a blending tool with foam.
Choose another piece of patterned paper out of the Reminiscence the Book. From the Words 1 - Celebration, die cut the Happy Birthday sentiment out of the patterned paper.
You'll need two small brads.
Put a hole at the top fo the flap, place the circle over top of the punched hole and put the brad through the circle. Open the brad up so that the circle is attached to the flap. Put a hole on the backside of the seed packet as desired, place the circle over top of the punched hole and put the brad through the circle. Open the brad up so that the circle is attached to the back of the seed packet.
Adhere the label to the backside of the label on the front of the seed packet.
Adhere the seed packet together.
Adhere the macrame to the front right hand side of the seed packet as desired.
Adhere the tops to each of the pots. Adhere one of the plants to each of the pots as desired.
Use foam squares to adhere the plants in pots to the right hand side of the label at the front of the seed packet as desired.
Adhere the Happy Birthday sentiment to the left of the plants in the pots as desired.
To finish the gift card holder, around the circles. Use as much or as little twine as desired.
Other Supplies Used:
- Tim Holtz for Ranger Ink: Distress Ink - Walnut Stain and Blending Tool with Foam
- Misc: Kraft Cardstock and White Twine
Thanks so much for joining me today and I hope that I have inspired you to recreate your own version of my Happy Birthday Gift Card Holder.
- Katelyn


No comments:
Post a Comment