Happy Friday!
Today's post, is all about this vintage Memories Tag. My tag uses the Sidekick Essentials Collection as well as stamps and dies from the Planner Essentials Collection. You'll want to grab a cup of your favourite beverage and learn how to recreate my tag at home.

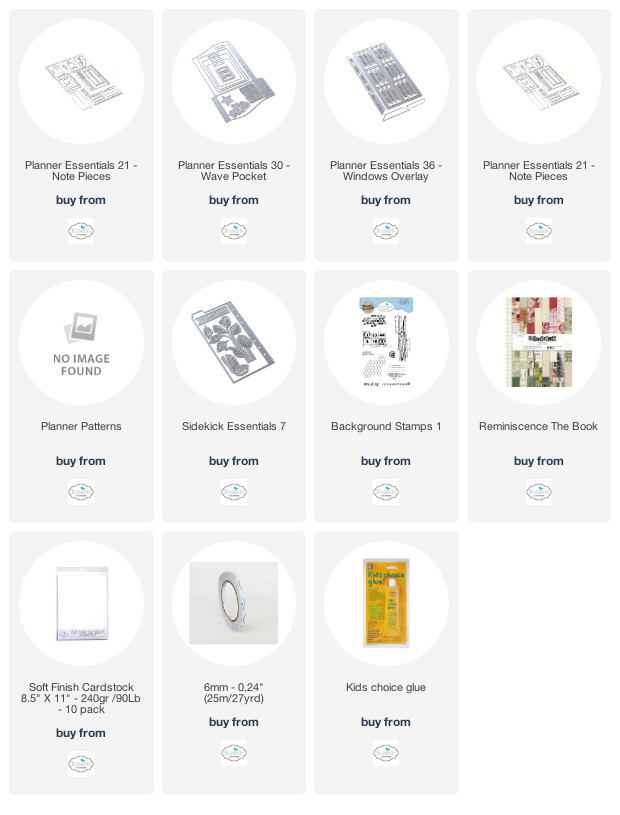
To start, die cut the 3 1/2" Tag from the Planner Essentials 30 - Wave Pocket out of a piece of kraft cardstock.

From the Planner Essentials - Background Stamps 1, you'll need the chicken wire stamp. Apply Emboss It Ink to the stamp and start stamping at the top of the tag. Reapply ink as needed and stamp the stamp all the way to the bottom of the tag. Once the ink has dried, ink the edges of the tag using Walnut Stain Distress Ink and a blending tool with foam.

Choose a piece of patterned paper from the Reminiscence the Book. Die cut the geometric pattern from the Planner Patterns die out of the paper. Cut the pattern down to 2 3/4" wide.

From the Sidekick Essentials - 7 you'll need the leaf branch and the two single leaves. Die cut the leaf branch out of a piece of White Soft Finish Cardstock. Die cut the two single leaves out of a piece of green patterned paper out of the Reminiscence the Book.

Choose another piece of patterned paper out of the Reminiscence the Book. Die cut the rectangle from the Sidekick Essentials 11 - This Week Fold Out out of the patterned paper. Ink the edges of the rectangle using Walnut Stain Distress Ink and a blending tool with foam.

Choose another piece of patterned paper out of the Reminiscence the Book. Die cut the 2" Note Piece from the Planner Essentials 21 - Note Pieces out of the patterned paper piece. Ink the edges of the note piece using Walnut Stain Distress Ink and a blending tool with foam.

From the Planner Essentials 36 - Windows Overlay die, you'll need the plain small banner and the memories banner. Die cut the plain small banner out of a piece of White Soft Finish Cardstock. Die cut the memories banner out of a piece of kraft cardstock. Ink the edges of both banners using Walnut Stain Distress Ink and a blending tool with foam.

Adhere the geometric pattern to the left hand side of the tag. Adhere the rectangle 3/4" from the right and 1/2" from the bottom of the tag.

Use adhesive and foam squares to adhere the note piece 1 1/4" from the right and 3/4" from the bottom of the tag. Staple the large leaf branch to the left hand side of the tag as desired.

Adhere the two single leaves as desired on the tag.

Adhere the memories banner to the plain banner. Adhere the memories banner 1 1/4" from the bottom and 1 3/8" from the left of the tag. Staple the bottom right corner of the banner to the tag.

Tie a piece of white ribbon through the top of the tag.

Here are a few closeup photos of the tag.


Here is the finished Memories Tag.

Elizabeth Craft Designs Supplies Used:
- Sidekick Essentials 11 - This Week Fold Out
Other Supplies Used:
- Tim Holtz for Ranger Ink: Distress Ink - Walnut Stain and Blending Tool with Foam
- Ranger Ink: Emboss It Dabber
- Stella & Wolfe Ribbon: White Ribbon
- Misc: Kraft Cardstock and Mini Stapler
Thanks so much for joining me today and I hope that I have inspired you to recreate your own version of my Memories Tag.
- Katelyn
No comments:
Post a Comment