Showing posts with label Authentique. Show all posts

Saturday, December 12, 2020

Joy Wall Hanging

 Happy Saturday!

I'm excited to be sharing another flower project with you today. Today's project is a Joy Wall Hanging perfect for any area of your home. To create my wall hanging, I've used a variety of dies from the Paper Flower Collection, Joset Designs and stamps from Sue Smith. You'll want to read below as I have a full tutorial on how to recreate my wall hanging at home.


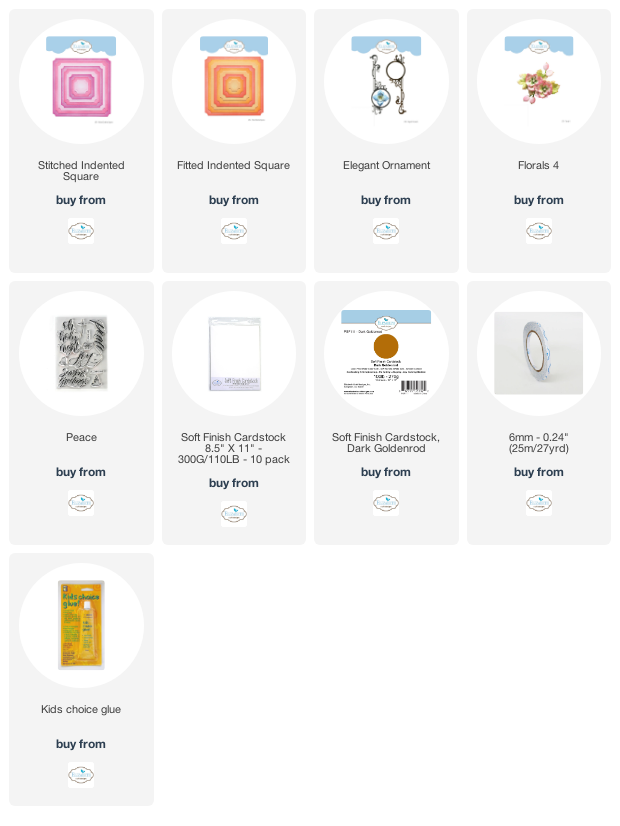
To start, you'll need to choose three coordinating Christmas themed patterned papers. From the first patterned paper, die cut a 4 3/4" Stitched Indented Square. From the second patterned paper, die cut a 4 1/2" Fitted Indented Square. From the third patterned paper, die cut a 4 1/4" Stitched Indented Square. Distress the edges of all three squares. Ink the edges of all three squares using Walnut Stain Distress Ink and a blending tool with foam.


Apply Emboss It Ink to the Joy word from the Peace stamp set. Stamp onto a piece of White Soft Finish Cardstock. Sprinkle Kells Gold Modern Gilding Powder over the stamped word. Tap off the excess powder and emboss with a heat tool. Fussy cut around the word. Ink the edges of the word using Walnut Stain Distress Ink and a blending tool with foam.


Die cut the Elegant Ornament out of a piece of Silver Foil. Cut the ornament down to 4 3/4".


The next three steps use the Florals 4 die.

Die cut the double leaf four times out of White Soft Finish Cardstock. Die cut the double leaf three times out of a piece of book page.


Die cut the centres once out of a piece of Dark Golden Rod Soft Finish Cardstock.


Die cut the large flower twice out of White Soft Finish Cardstock. Die cut the medium flower three times out of White Soft Finish Cardstock. Die cut the small flower three times out of White Soft Finish Cardstock. Using a blending tool with foam, blend Candied Apple Distress Oxide Ink over all of the flowers. Spritz the flowers with water. Once dry, ink the edges of the flowers using Walnut Stain Distress Ink and a blending tool with foam. Shape the flowers as desired.


Adhere the 4 1/2" square to the 4 3/4" square. Adhere the 4 1/4" square to the 4 1/2" square.


Adhere the elegant ornament as desired on the right hand side of the 4 1/4" square.


Adhere the small and medium flower together as well as adhere a flower centre to the middle. Adhere a small, medium and flower flower together as well as adhere a flower centre to the middle. Adhere a small, medium and flower flower together as well as adhere a flower centre to the middle. 


Adhere your double blooms as desired around the ornament.


Use foam squares to adhere the three flowers overtop of where the stems of the double blooms meet.


Use foam squares to adhere the joy word to the bottom left hand side of the flowers. To finish the wall hanging, punch two holes at the top of the squares and tie white twine through the holes to create the hanging part of the wall hanging.


Here are a few closeup photos of the finished wall hanging.


Here is the finished Joy Wall Hanging.


Elizabeth Craft Designs Supplies Used:

Other Supplies Used:

- Tim Holtz for Ranger Ink: Distress Ink - Walnut Stain, Distress Oxide Ink - Candied Apple and Blending Tool with Foam
- Ranger Ink: Emboss It Dabber
- Emerald Creek Craft Supplies: Kells Gold Modern Gilding Powder
- Authentique: Snowfall Patterned Paper
- Misc: Book Page, White Twine and Silver Foil

I hope that my card has inspired you to recreate your own version of my Joy Wall Hanging.

- Katelyn


Wednesday, May 22, 2019

Masculine Happy Birthday Card

Happy Wednesday! Today's project is a Masculine Happy Birthday Card for Southern Ridge Trading Company's blog. I hope that my card inspires you to recreate your own version at home.


You'll want to stop by Southern Ridge Trading Company's blog so that you can learn how I created my Masculine Happy Birthday Card at home.

- Katelyn


Wednesday, January 23, 2019

Adore Tag

Valentine's Day is right around the corner and I've started to create tags and cards for loved ones. I've created this Adore Tag which I'm sharing up on Southern Ridge Trading Company's blog. I hope that my tag inspires you to recreate your own version at home.


You'll want to stop by Southern Ridge Trading Company's blog so that you can learn how to recreate my Adore Tag at home.

- Katelyn

Monday, July 16, 2018

Journey Mini Album

Happy Monday! I'm up on Southern Ridge Trading Company's blog sharing with you my Journey Mini Album. I hope that my mini album will inspire you to want to recreate your own version at home.


You'll want to stop by Southern Ridge Trading Company's Blog so that you can learn how to recreate the embellishments for my Journey Mini Album at home.

- Katelyn


Friday, March 30, 2018

Floral Happy Birthday Card

Happy Friday! I'm up on Southern Ridge Trading Company's blog sharing with you my Floral Happy Birthday Card today. Spring is here and inspiration is everywhere. With Spring in mind, I've created this vintage Floral Happy Birthday Card perfect for that special someone in your life.  I hope that my Floral Happy Birthday Card will inspire you to want to recreate it at home.


You'll want to stop by Southern Ridge Trading Company's Blog so that you can learn how I created my Floral Happy Birthday Card at home.

- Katelyn

Tuesday, March 6, 2018

With Sympathy Card

I'm up on the Elizabeth Craft Designs blog today sharing my With Sympathy Card. Although we don't like to create Sympathy cards, they are cards that we sometimes need to create. To create my card I used some dies from Joset Designs and Els van de Burgt Studio. 


You'll want to make sure your way over to Elizabeth Crafts Designs Blog to read all about how I created my With Sympathy Card, so that you're able to recreate it for your home. 

- Katelyn

Tuesday, February 20, 2018

Happy Easter - Designer Challenge

It's time for a new Designer Challenge on the Elizabeth Craft Designs Blog today.  For February it's all about Easter. With this month's challenge in mind, I set out to create a cute Easter Card that you could give to that special someone in your life. You'll want to make sure to read below as I have a tutorial for you so that you can re-create my Happy Easter Card at home. Make sure to read all the way down to the bottom of the post as I have some information on how to get in on a fabulous giveaway from Elizabeth Craft Designs.


To start, die cut three grass pieces from the Spring Basket Die Set out of White Soft Finish Cardstock. Blend Shabby Shutters Distress Ink over the entire surface of the grass pieces using a blending tool with foam. Use Vintage Photo Distress Ink and a blending tool with foam to ink the edges of each grass bush.


Die cut the bunny from the Bunny die out of White Soft Finish Cardstock. Using Hickory Smoke Distress Ink and a blending tool with foam, lightly go over the bunny and it's mouth. Using Spun Sugar Distress Ink and a blending tool with foam, lightly go over the ears and it's nose. Adhere the nose to the mouth and then adhere the mouth to the bunny. Adhere the two pink ear pieces to the ears.


Choose two Easter eggs from the Colour My Easter Eggs. Apply Jet Black Archival Ink to each egg stamp and stamp onto a piece of watercolour cardstock. Colour the eggs using a watercolour brush and the following Tombow Markers - 373, 269, 743, 055 and 676. Once the eggs have been coloured, cut the eggs out using the Colour My Easter Eggs die set. Ink the edges of the eggs using Vintage Photo Distress Ink and a blending tool with foam.


Die cut the Entwined Egg twice out of patterned paper. Ink the edges of both entwined eggs using Vintage Photo Distress Ink and a blending tool with foam.


While the Entwined Egg die is still out, die cut the medium sized flower seven times out of patterned paper. Ink the edges of the flowers using Vintage Photo Distress Ink and a blending tool with foam.


From the Small Flower Set die, die cut the same flower out four times from White Soft Finish Cardstock. Blend Spun Sugar Distress Ink over the entire surface of two of the flowers. Blend Shabby Shutters Distress Ink over the entire surface of the other two flowers. 


The last piece to die cut is the 4 1/2" Dashing Rectangles out of White Soft Finish Cardstock. Ink the edges of the rectangle using Vintage Photo Distress Ink and a blending tool with foam.


Cut a piece of patterned paper that measures 4 3/4" x 6". Ink the edges of the patterned paper piece using Vintage Photo Distress Ink and a blending tool with foam.


Adhere the dashing rectangle piece to the patterned paper piece. Adhere the entwined eggs to the middle of the dashing rectangle piece. Make sure that you can see both entwined eggs.


In the bottom right hand side of the egg, adhere the two easter eggs, the bunny and the grass pieces.


Adhere three of the flowers on the top left hand side of the egg. Apply Jet Black Archival Ink to the Happy Easter sentiment and stamp in the middle of the egg.


Adhere the other four flowers in amongst the eggs, bunny and grass.


Adhere one large flower above the bunny and adhere the other large flower to the left of the easter eggs. To finish off the flowers, add Transp.Glitter/Gold Dots to the centres. To finish the card, cut a cardbase that measures 4 3/4" x 12", score at 6". Adhere the cardfront to the cardbase.


Here are a few close up photos of the Happy Easter Card. 


Here's the finished Happy Easter Card. 


*******************

For today's challenge Elizabeth Craft Designs are giving away a $20 Gift Card to use on our website to 3 winners

To enter simply leave a comment on the Elizabeth Craft Designs Challenge post and tell us "What Elizabeth Craft Designs dies or stamp sets would you use to create an Easter Card?

We will select 3 lucky winners in a random drawing 

The winners will be announced on Friday, March 2nd on the Elizabeth Craft Designs blog.


************************

Elizabeth Craft Designs Products Used:


Other Products Used:

- Tim Holtz for Ranger Ink: Distress Ink - Spun Sugar, Shabby Shutters & Vintage Photo & Blending Tool & Foam
- Ranger Ink: Jet Black Archival Ink
- Tombow Markers: 373, 269, 743, 055 & 676
- Authentique: Jubilee - Jubilee Two, Jubilee Five & Jubilee Six

- Katelyn


Monday, February 5, 2018

Happy Valentine's Day Home Decor Piece

 Happy Monday! I'm up on the Elizabeth Craft Designs blog today sharing my Happy Valentine's Day Home Decor Piece. Valentine's Day is only 10 days away, so why not make a decor piece to decorate an area in your home. To create my home decor piece I used some dies from Joset Designs and Els van de Burgt Studio. 


You'll want to make sure your way over to Elizabeth Crafts Designs Blog to read all about how I created my Happy Valentine's Day Home Decor Piece, so that you're able to recreate it for your home. 

- Katelyn

Friday, August 25, 2017

There is Beauty in Simplicity ATC

I'm back on Southern Ridge Trading Company's blog today sharing with you my There is Beauty in Simplicity ATC card which features a variety of our Fall chipboard and wood pieces. I hope that my There is Beauty in Simplicity ATC card will inspire you to want to recreate it at home.


Make sure to head over to the Southern Ridge Trading Company Blog so that you can learn all about how I transformed my Fall chipboard and wood pieces for my There is Beauty in Simplicity ATC card.

- Katelyn

Friday, January 6, 2017

Walking In A Winter Wonderland Scrapbook Layout

I'm up on the Southern Ridge Trading blog today to share with you some inspiration for our current monthly challenge which is all about "Winter".  With the challenge in mind I created a Winter Scrapbook Layout that's sure to inspire you.


Make sure to head over to the Southern Ridge Trading Company Blog so that you can learn all about how I created my Winter Scrapbook Layout. While you're checking out my project, make sure to participate in our monthly challenge. You can find all the details here on how to enter.

- Katelyn


Friday, December 9, 2016

Snowman Merry Christmas Card

I'm up on the Southern Ridge Trading blog today to share with you some inspiration for our current monthly challenge which is all about "Christmas and New Years".  Christmas is only 17 days away, so I created a Snowman Merry Christmas Card that will be sure to inspire you as well as get some of your Christmas crafting done. 


Make sure to head over to the Southern Ridge Trading Company Blog so that you can learn all about how I created my Snowman Merry Christmas card. While you're checking out my project, make sure to participate in our monthly challenge. You can find all of the details here on how to enter. 

- Katelyn