Thursday, May 21, 2020

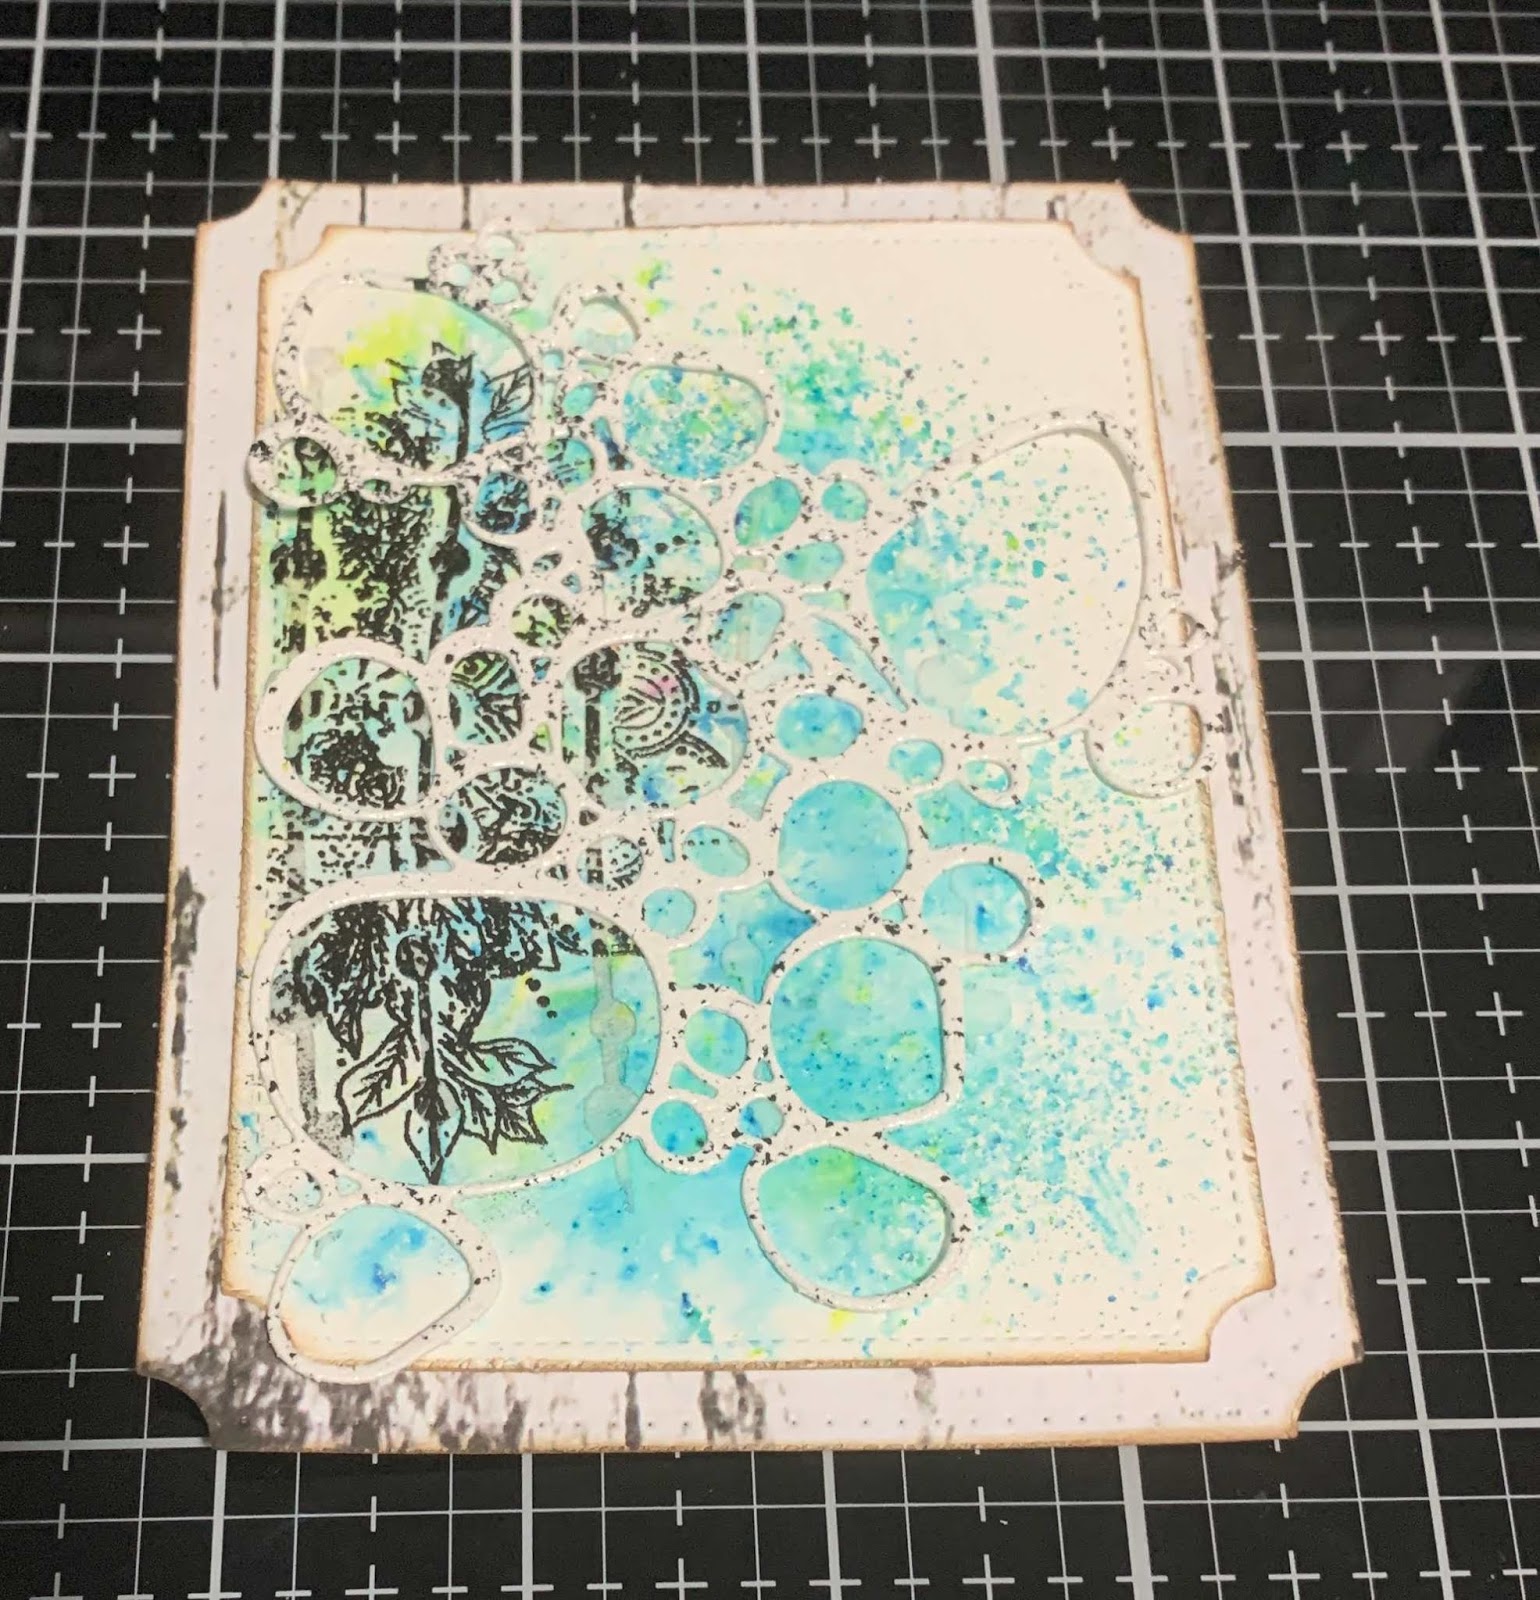
Look For The Dream Art Journal Page

Happy Thursday!

I'm up on the Quietfire Design blog today, where I'm sharing my Look For The Dream Art Journal Page. My page features a variety of Quietfire stamps, dies and Modern Gilding Powder.


For a full tutorial of my art journal page, you'll want to head over to Quietfire Design blog for all the details. 

- Katelyn

Tuesday, May 19, 2020

We Are Kinda Silly, Kinda Awesome Wall Hanging

Happy Tuesday!

 For today's project I'm sharing with you my We Are Kinda Silly, Kinda Awesome Wall Hanging which features some dies, stamps and stencils from Charlene & Ilse's Art Journal Specials Collection as well as dies from Joset Designs and the Planner Essentials Collection. You'll want to read below as I have a full tutorial on how to recreate my wall hanging at home.


To start, die cut a 3 1/2" Stitched Indented Rectangle out of White Soft Finish Cardstock. Place the Dot Dot Dot... Stencil to the left hand side of the rectangle. Using a palette knife, put Texture Paste Opaque Matte through the stencil. Once the paste has dried, sprinkle Magenta Nuance powder in Spring Green, Aquamarine and Turquoise on the rectangle as desired. Spritz the powder with water. Set aside to dry.


Once the powder has dried, apply Emboss It Ink to the mandala stamp from the Words & Layers stamp and stamp on the left hand side of the rectangle. Sprinkle Oil Rubbed Bronze Embossing Powder overtop of the stamp image. Tap off the excess powder and emboss with a heat tool. Distress the edges of the rectangle. Ink the edges of the rectangle using Walnut Stain Distress Ink and a blending tool with foam.


From a piece of wood patterned paper, die cut a 4" Stitched Indented Rectangle. Distress the edges of the rectangle. Ink the edges of the rectangle using Walnut Stain Distress Ink and a blending tool with foam.


From the Planner Essentials 24 - Photo Frame Pages, die cut the filmstrip out of black cardstock.


Apply Jet Black Archival Ink to the cotton stamp from the First Sights of Spring stamp set and stamp onto a piece of watercolour cardstock. Colour the cotton image in using the Watercolour Palette. Once the image has dried, fussy cut the cotton out. Ink the edges of the cotton using Walnut Stain Distress Ink and a blending tool with foam.


Die cut the Bubbles out of White Soft Finish Cardstock. Apply Emboss It Ink to the bubbles die cut and sprinkle Peppered Chantilly Embossing Powder overtop of the bubble die cut. Tap off the excess powder and emboss with a heat tool. 


From the Budding Floral die, die cut the bud branch out of kraft cardstock. Ink the edges of the bud branch using Walnut Stain Distress Ink and a blending tool with foam.


From the Budding Floral die, die cut the floral branch out of White Soft Finish Cardstock. 


From the We Are stamp set, apply Emboss It Ink to the We Are and Kind Silly Kinda Awesome stamps and stamp onto a piece of White Soft Finish Cardstock. Sprinkle Oil Rubbed Bronze Embossing Powder over the stamped images. Tap off the excess powder and emboss with a heat tool. Fussy cut the We Are words out. Cut the Kinda Silly Kinda Awesome words into a strip. Ink the edges of the fussy cut words and strip using Walnut Stain Distress Ink and a blending tool with foam.


Adhere the 3 1/2" rectangle to the 4" rectangle. Adhere the bubble die cut to the 3 1/2" rectangle as desired.


Foam square the bud branch to the left hand side of the 3 1/2" rectangle. Staple the film strip to the middle of the bud branch.


Adhere the budding floral branch to the middle of the filmstrip. Foam square the cotton stamp image to the middle of the filmstrip and budding floral branch.


Use foam squares to adhere the We Are words 1 1/8" from the bottom and to the right hand side of the 3 1/2" rectangle. Adhere the Kind Silly Kinda Awesome word strip 3/4" from the bottom and 1/4" from the right of the 3 1/2" rectangle.


To finish the wall hanging, punch two holes at the top of the 4" rectangle. Tie a piece of twine through the holes.


Here are a few closeup photos of the finished wall hanging.


Here is the finished We Are Kinda Silly, Kinda Awesome Wall Hanging.


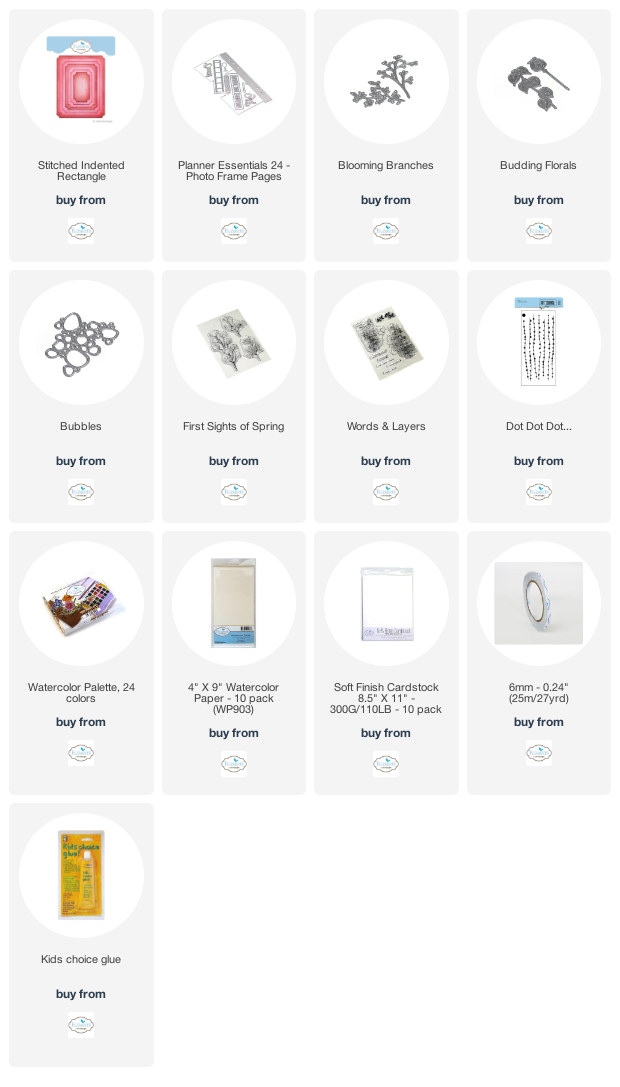
Elizabeth Craft Designs Supplies Used:


Other Supplies Used:

- Ranger Ink: Texture Paste Opaque Matte, Jet Black Archival Ink and Emboss It Ink
- Tim Holtz for Ranger Ink: Distress Ink - Walnut Stain and Blending Tool with Foam
- Magenta Nuance: Spring Green, Aquamarine and Turquoise
- Emerald Creek Craft Supplies: Peppered Chantilly Embossing Powder and Oil Rubbed Bronze Embossing Powder
- Misc: Woodgrain Patterned Paper, Kraft Cardstock, Black Cardstock, Twine and Stapler

I hope that my wall hanging has inspired you to recreate your own version at home.

- Katelyn


Friday, May 15, 2020

Adventure Home Decor Piece

Happy Friday!

I'm back on Wild Whisper's blog today, where I'm sharing my Adventure Home Decor Piece which features the brand new Adventure Collection. 


For all the details, more photos and a full tutorial on my home decor piece, you'll want to stop by the Wild Whisper blog. You'll want to make sure to keep checking out Wild Whisper's blog as the design team will be sharing lots of inspiration featuring the new collections.

- Katelyn


Wednesday, May 13, 2020

For You Card

Happy Wednesday!

 For today's project I'm sharing with you my For You Card which features dies and stencils from Charlene & Ilse's Art Journal Specials Collection from Elizabeth Craft Designs, stamps from Charlene van der Vorst as well as dies from the Planner Essentials Collection and Els van de Burgt Studio. You'll want to read below as I share with you how I created my For You Card.


To add some interest to white stitched square, I used the Story Telling stencil to add a stenciled image to the middle of the square. I layered the white stitched square on top of a patterned paper stitched square.   


For some dimension overtop of the stenciled area, I layered the mandala, heart branch, filmstrip, arrow, cheesecloth and the bud as desired on top of one another.  


I stamped and watercoloured two mushrooms and layered them on top of the bud. To finish the card, I layered the For You sentiment to one of the labels from the Planner Label. I foam squared the label to the right of the mushrooms as desired. 


Elizabeth Craft Designs Supplies Used:

- 6mm

Other Supplies Used:

- Tim Holtz for Ranger Ink: Distress Ink- Walnut Stain and Blending Tool with Foam
- Ranger Ink: Texture Paste Opaque Matte
- Creative Memories: Painted Harvest Paper Pack
- Misc: Book Page, Black Cardstock and Cheese cloth

I hope that my For You Card has inspired you to recreate your own version at home.

- Katelyn


Monday, May 11, 2020

The Smallest Things Tag

Happy Monday!

I'm up on the Quietfire Design blog today, where I'm sharing my The Smallest Things Tag. My tag features a variety of Quietfire stamps, dies and Modern Gilding Powder.


For a full tutorial and a few more photos of my tag, you'll want to head over to Quietfire Design blog for all the details. 

- Katelyn

Sunday, May 10, 2020

Elizabeth Craft Designs May Group Post - Gifts for Mom!

Happy Sunday!

For May's Group Post it's all about Gifts for Mom! For this month's group post, I'm sharing my For You Gift Box which is the perfect wrapping for giving your mom's gift in. To create my gift box, I've used dies from Joset Designs, A Way With Words and the Planner Essentials Collection. Grab a cup of your favourite beverage and read below as I have a tutorial for you so that you can re-create my For You Gift Box at home. You'll also want to make sure to stop by the Elizabeth Craft Designs Blog to check out the rest of the projects.


To start, die cut the gable box out of the Princess patterned paper from the Princess Collection by Graphic 45. You will also need the two hearts that are cut out from the handle on the box. In the portion of the box where there are the hearts on the handle, you'll need to die cut a 1 3/4" Stitched Rectangle out of each square. Ink the edges of the box and two hearts using Walnut Stain Distress Ink and a blending tool with foam.


From a piece of dotted or plain acetate, cut two pieces that measure 1 7/8" x 1 7/8".


The next three steps use the Trio of Leaves die. Choose two of the leaf dies.

Die cut one of the leaves twice out of White Soft Finish Cardstock. Ink the edges of the leaves using Walnut Stain Distress Ink and a blending tool with foam.


Die cut one of each of the leaves out of the Loveliest of All patterned paper from the Princess Collection by Graphic 45. Ink the edges of the leaves using Walnut Stain Distress Ink and a blending tool with foam.


Die cut one of each of the leaves out of the Beautiful Maiden patterned paper from the Princess Collection by Graphic 45. Ink the edges of the leaves using Walnut Stain Distress Ink and a blending tool with foam.


The next two steps use the Small Flower Set. From the set, you'll need to choose two flowers.

Die cut one of each of the flowers as well as the flower centres out of the Belle of the Ball patterned paper from the Princess Collection by Graphic 45. Ink the edges of the flowers and centres using Walnut Stain Distress Ink and a blending tool with foam.


Die cut one of each of the flowers out of White Soft Finish Cardstock. 


The next two steps use the Large Flower Set. From the set, you'll need to choose two flowers.

Die cut one of each of the flowers out of the Your Highness patterned paper from the Princess Collection by Graphic 45. Ink the edges of the flowers and centres using Walnut Stain Distress Ink and a blending tool with foam.


Die cut one of each of the flowers and the centres out White Soft Finish Cardstock. 


From the Planner Labels, you'll need the stitched label. Die cut the label out of the Your Highness patterned paper from the Princess Collection by Graphic 45. Ink the edges of the label using Walnut Stain Distress Ink and a blending tool with foam.


From the Words 2 - Thinking of You die, die cut the words for and you out of White Soft Finish Cardstock.


Adhere the acetate rectangles in behind where the rectangles have been die cut from the box. 


Assemble the box. This is how the box will look once adhered.


Adhere three of the leaves together, making sure in each bunch there is a different pattern on the yellow paper. Repeat the previous step for the remaining leaves.


For the large flowers, adhere a patterned paper to the coordinating white flower. Adhere the other patterned paper to the other coordinating white flower. Adhere a white centre in the middle of each flower. For the small flowers, adhere a white flower to the coordinating patterned paper flower. Adhere the other white flower to the other coordinating patterned paper flower. Adhere a patterned paper centre in the middle of each flower. 


On the left side of the box, adhere a three leaf bunch to the top left hand side of the box. Use foam squares to adhere one of the large flowers and one of the small flowers over top of the leaf bunch as desired.


On the right side of the box, adhere the other three leaf bunch to the top left hand side of the box. Use foam squares to adhere the remaining large flower and small flower over top of the leaf bunch as desired.


Adhere the For You and hearts onto the label as desired.


Use a mini clothespin to add the For You label to one of the sides that has the acetate.


Here are a few closeup photos of the finished gift box.


Here is the finished For You Gift Box.


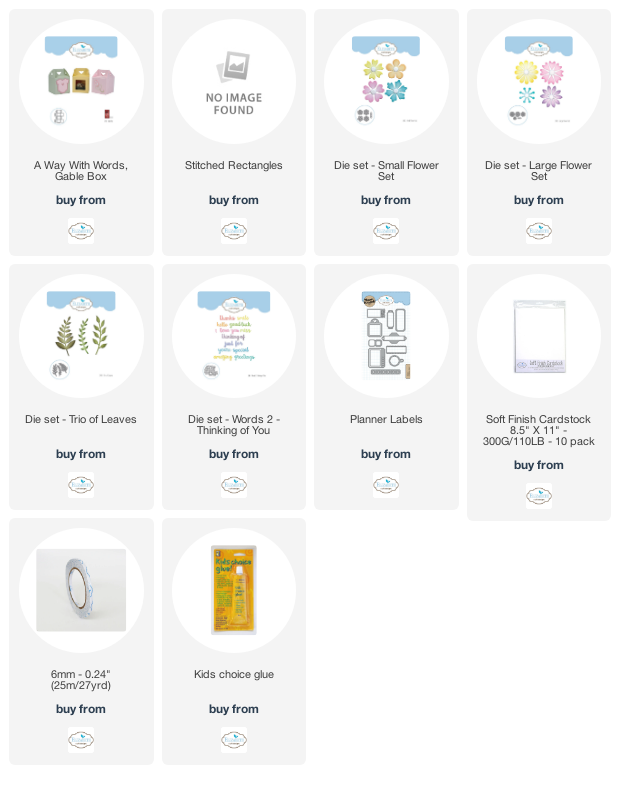
Elizabeth Craft Designs Supplies Used:

Other Supplies Used:

- Tim Holtz for Ranger Ink: Distress Ink - Walnut Stain and Blending Tool with Foam
- Graphic 45: Princess Collection - Your Highness, Belle of the Ball, Loveliest of All, Beautiful Maiden and Princess
- Misc: Acetate and Mini Clothespin

Thanks so much for joining me today and I hope that I have inspired you to recreate your own version of my For You Gift Box.

- Katelyn