Happy Sunday!
For today's post, I've created this pretty Merry Wishes Christmas Door Card which features dies from Joset Designs and stamps from Sue Smith. You'll want to grab a cup of your favourite beverage and learn how to recreate my card at home.
You'll need to choose a piece of patterned paper out of the Worn Wood Paper Pack. Die cut a 3 3/4" Fitted Indented Rectangle out of the wood patterned paper piece. Die cut a 4" Stitched Indented Rectangle out of a piece of dark green cardstock. Die cut a 3 1/2" Stitched Indented Rectangle out of a piece of White Soft Finish Cardstock.
From the Hugs Stamp Set, you'll need the Merry Wishes words. Apply Emboss It Ink to the words and stamp onto a piece of dark green cardstock. Sprinkle Copper Scroll Modern Gilding Powder over the stamped words. Tap off the excess powder and emboss with a heat tool. Cut the two words into two strips.
The next five steps use the Christmas Door Die.
Die cut the rectangle and the two ledges out of a piece of White Soft Finish Cardstock.
Die cut two light fixtures out of a piece of black cardstock.
Die cut the large and small wreath out of dark green cardstock. Die cut the tree pieces twice out of dark green cardstock.
Die cut the door, bow and berries out of red cardstock.
Die cut the inside of the light and tree plant pot twice out of copper foil. Die cut the handle out of copper foil.
Adhere the 3 3/4" rectangle to the 4" rectangle. Foam square the 3 1/2" rectangle to the 3 3/4" rectangle.
Adhere the white rectangle piece to the middle of the 3 1/2" rectangle. Adhere the door 1/2" from the right and 1/4" from the top of the white rectangle. Adhere the shorter ledge to the top of the door. Adhere the longer ledge to the bottom of the door. Adhere the copper foil light inside to the backside of each of the light fixtures. Adhere the two light fixtures to the top left and top right of the door as desired.
Foam square the tree plant pots to the bottom left and bottom right of the door as desired. Adhere the trees together and use adhesive and foam squares to adhere each of the trees overtop of the tree plant pots.
Adhere the wreath together. Adhere the bow and berries as desired. Foam square the wreath to the door as desired. Adhere the door handle to the right hand side of the door.
Adhere the Merry Wishes words to the bottom portion of the door. To finish the card, cut a cardbase out of White Soft Finish Cardstock that measures 5 1/4" x 8", score at 4". Adhere the cardfront to the cardbase.
Here are a few closeup photos of the finished card.
Here is the finished Merry Wishes Christmas Door Card.
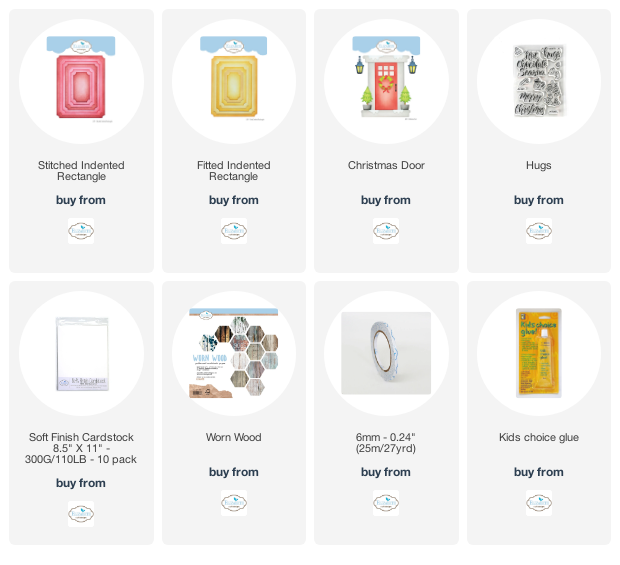
Elizabeth Craft Designs Supplies Used:

Other Supplies Used:
- Ranger Ink: Emboss It Dabber
- Emerald Creek Craft Supplies: Quietfire Design - Copper Scroll Modern Gilding Powder
- Misc: Dark Green Cardstock, Red Cardstock, Black Cardstock and Copper Foil
Thanks so much for joining me today and I hope that I have inspired you to recreate your own version of my Merry Wishes Christmas Door Card.
- Katelyn


This is such an eye-catchingly elegant card. Much like that of the holiday season itself, the beauty of this lovely project is timeless.
ReplyDeleteAutumn Zenith 🧡 Witchcrafted Life
Thanks Autumn!
Delete