Happy Tuesday!
For today's post, I've created this pretty Merry Wishes Card perfect to send to a friend or a loved one for Christmas. To create the card, I've used some of the new dies, stamps and patterned paper from the Art Journal Collection as well as stamps from Sue Smith. You'll want to read below as I have a full tutorial on how to recreate my card at home.
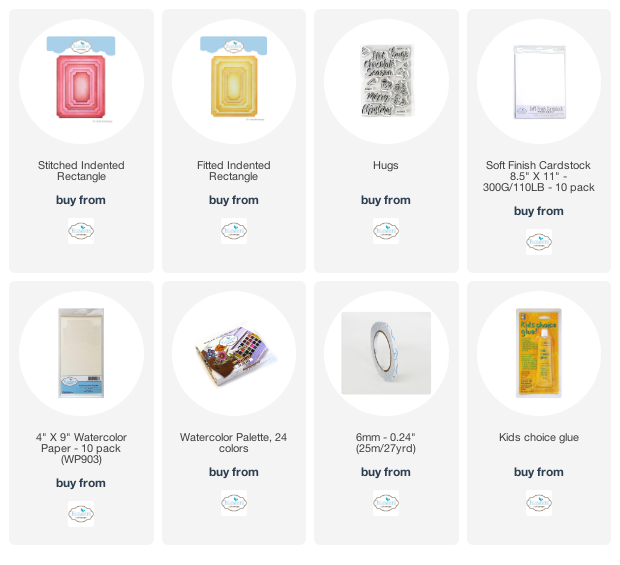
To start, choose two pieces of patterned paper out of the Mystical Winter Paper Pack. Die cut a 3 1/2" Stitched Indented Rectangle out of one of the patterned papers. Die cut a 3" Stitched Indented Rectangle out of the second piece of patterned paper. Distress the edges of both rectangles. Ink the edges of both rectangles using Walnut Stain Distress Ink and a blending tool with foam.
Die cut a 3 1/4" Fitted Indented Rectangle out of a piece of White Soft Finish Cardstock. Distress the edges of the rectangle. Ink the edges of the rectangle using Walnut Stain Distress Ink and a blending tool with foam.
From the Snowy Windows die, die cut the two trees out of White Soft Finish Cardstock. Die cut one of the small snowflakes once and die cut the other small snowflake twice out of White Soft Finish Cardstock. Using a waterbrush and the Watercolour Palette, colour the two trees. Once the trees have dried, ink the edges of the trees using Walnut Stain Distress Ink and a blending tool with foam.
From the Florals of Winter Die, die cut the two orchid flowers out of black cardstock.
Next, you'll need the bird from the Bird Song Stamp Set. Apply Jet Black Archival Ink to the bird stamp and stamp onto a piece of watercolour cardstock. Colour the bird in using a waterbrush and the Watercolour Palette. Once the bird has dried, fussy cut it out. Ink the edges of the bird using Walnut Stain Distress Ink and a blending tool with foam.
From the Hugs stamp set, you'll need the Merry & Wishes words. Apply Emboss It Ink to the words and stamp onto a piece of White Soft Finish Cardstock. Sprinkle Copper Scroll Modern Gilding Powder over the words. Tap off the excess powder and emboss with a heat tool. Once the words have cooled, cut them into two word strips. Ink the edges of the word strips using Walnut Stain Distress Ink and a blending tool with foam.
Adhere the 3" rectangle to the 3 1/4" rectangle. Adhere the 3 1/4" rectangle to the 3 1/2" rectangle.
Adhere the two orchid flowers as desired on the right hand side of the cardfront. Adhere the three snowflakes as desired on the 3" rectangle.
Adhere the two trees slightly over top of the orchid flowers as desired.
Use foam squares to adhere the bird to the left of the trees as desired. Use adhesive and foam squares to adhere the Merry Wishes word strips to the left of the bird.
To finish the card, cut a cardbase out of White Soft Finish Cardstock that measures 3 1/2" x
9 1/2", score at 4 3/4". Adhere the cardfront to the cardbase.
Here are a few closeup photos of the finished card.
Here is the finished Merry Wishes Card.
Elizabeth Craft Designs Supplies Used:
- Snowy Windows
- Florals of Winter
- Bird Song
- Mystical Winter
Other Supplies Used:
- Tim Holtz for Ranger Ink: Distress Ink - Walnut Stain and Blending Tool with Foam
- Ranger Ink: Jet Black Archival Ink
- Emerald Creek Craft Supplies: Copper Scroll Modern Gilding Powder
- Misc: Black Cardstock
I hope that my Merry Wishes Card has inspired you to recreate your own version at home.
- Katelyn


Breathtakingly beautiful design. I adore the notched corners.
ReplyDeleteAutumn Zenith 🧡 Witchcrafted Life
Thanks Autumn!
Delete